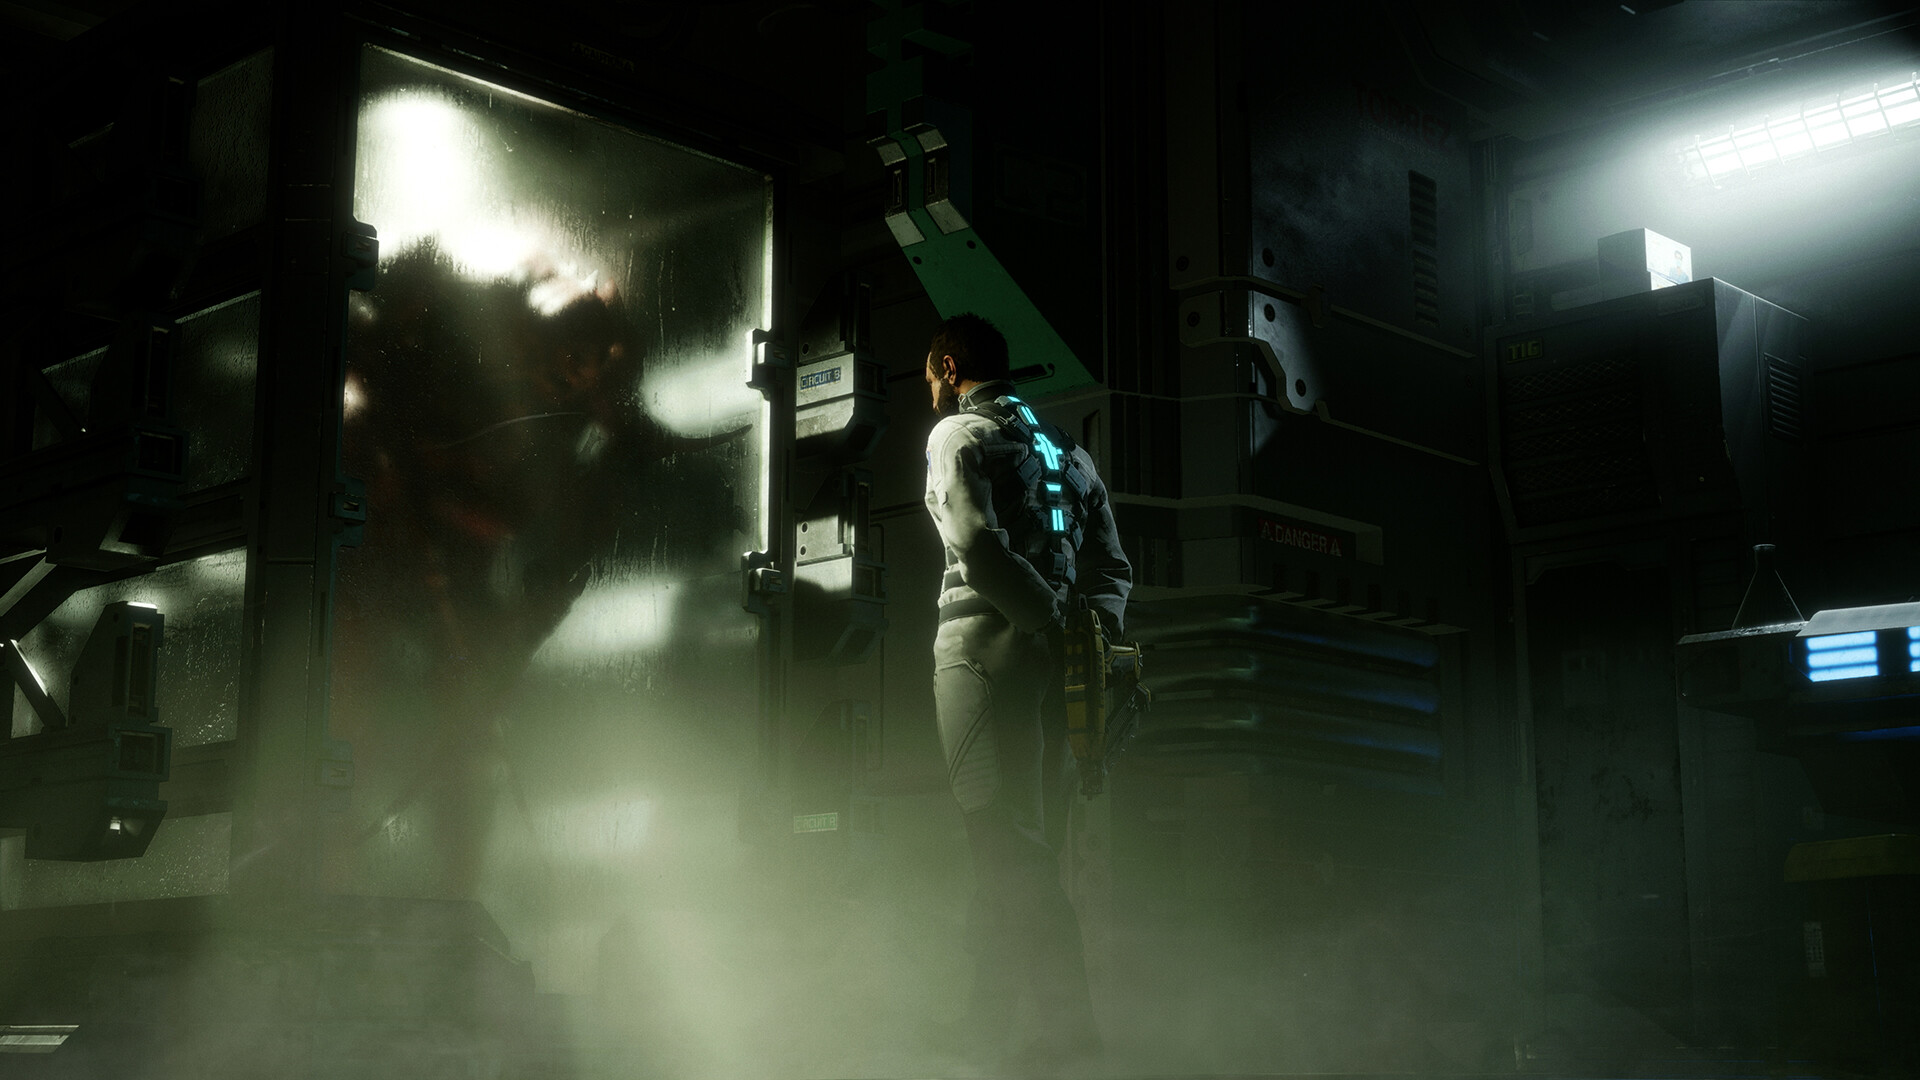
The surprisingly excellent Dead Space remake makes some notable changes to the original game, but it’s pretty faithful in the areas that matter most. Both are scary as hell, both are cinematically excellent, and both are filled with unlockables and secrets. While the remake actually expands upon that last offering, even casual players will want to go out of their way to locate the game’s various schematics.
In Dead Space, schematics allow you to access new upgrades and abilities. You’ll also need to locate them if you’re trying to get all of the game’s achievements. While you can technically beat Dead Space without picking up schematics, you’re making things harder on yourself by ignoring them entirely, and you’re certainly missing out on a cool part of the game. Anyone brave enough to take on Dead Space‘s Impossible setting will also want to pick up those schematics as soon as possible.
Regardless of why you want them, here’s where you can find every schematic in the Dead Space remake.
Dead Space Remake: How to Find Every Schematic
Pulse Rounds
Chapter 2 – After you enter the Coolant Pipe, look to your left. You should see the Pulse Rounds schematics.
Stasis Pack
Chapter 2 – To the left of Dr. Brennan’s office, you’ll find the Main Lab Changing Room. Once inside, look for a bench to your right. You should see this schematic on the bench.
Medium Med Pack
Chapter 3 – After completing the Decontamination Room Quarantine section, you’ll find a locker in the adjoining room. The schematic is inside that locker.
Flamethrower Fuel
Chapter 3 – Once you reach the Engine Room, look for the Primary Engine panel that you need to interact with. You’ll find this schematic next to that panel.
Ripper Blades
Chapter 3 – After you use the first elevator (but before you enter the next elevator), look for the nearby open room. You should see this schematic just sitting there in that room.
Intermediate Engineer Rig
Chapter 4 – Wait until you reach the EVA Prep Room during this chapter. You should spot it on the map before you complete the “Calibrate Three ADS Cannons” mission. You’ll find this schematic inside that room.
Line Racks
Chapter 5 – This one is a bit tricky. Once you reach the Observation Room in this chapter, head into the next available room as you normally would. However, don’t use the elevator. To the right of the room, you’ll find Dr. B. Warwick’s office, which requires Security Clearance Level 2 access. Enter the room if you’re able to do so, and you’ll find this schematic inside.
Force Energy
Chapter 6 – This one is also a little tricky. Head to the Air filtration Tower and look for the nearby electrical traps. The schematic is located between those traps, and you’ll need to use your Statis ability to slow them down.
Contact Energy
Chapter 7 – Head to the Deck B: Processing area and deal with those pesky Necromorphs that soon descend upon you. After they’re dealt with, look for a nearby locked room. Look for a nearby broken window, and shoot the locks off the door through the opening in that window. You’ll find this schematic inside the previously locked room.
Intermediate Miner Rig
Chapter 7 – This one is easy enough to find. Just reach the Equipment Workshop and look for the nearby desk. You’ll find the schematic sitting on that desk.
Oxygen Tank
Chapter 8 – Head to Floor 4 and look for the Refueling Station area. You’ll need Security Clearance Level 2 access in order to enter the room, but you’ll find this schematic just sitting inside.
Large Med Pack
Chapter 9 – Look for a desk located incredibly close to the entrance of the Infirmary. You should find the schematic on top of that desk.
Advanced Engineering Rig
Chapter 10 – This late-in-the-game schematic can be found on a bench in the Crew Quarters’ bathrooms.
